
Ichigo Daifuku – CBD Strawberry Mochi
By: Kate Marley

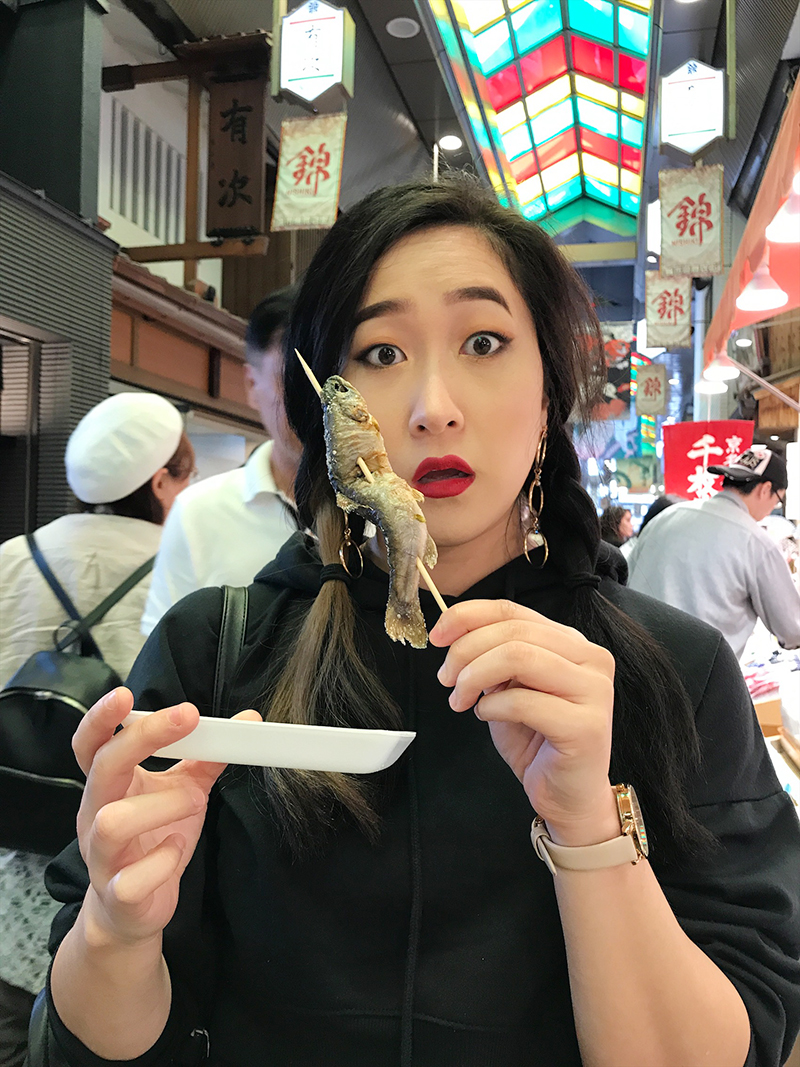
I have been passionate about Japanese culture for nearly all my life. I’m predominantly Korean with a small percentage of Japanese and Chinese heritage, but Japan has always interested me, from the food to the clothing to the history of its people and culture. Last month, I fulfilled a life-long dream and spent two and a half weeks traveling through Tokyo, Kyoto, and Osaka, attempting to immerse myself as best I could. Part of that meant practicing the language, visiting temples, and taking in the scenery. But the biggest part of that meant finally getting to try authentic cuisine that I’ve only had in American Japanese restaurants or cooked up at home. And I ate everything, as often as possible. Okonomiyaki, takoyaki, curry, karaage, sushi, you name it. There were even whole fish grilled on skewers, and that one took me a bit longer to try!
One of the things I was most excited to eat was fresh mochi. If you haven’t tried mochi before, it’s a soft, squishy rice cake made from glutinous rice flour, and it is super delicious. Mochi can be eaten so many ways, including mitarashi dango (sweet rice balls on a skewer, topped with a sweet soy sauce glaze) and mochi ice cream (balls of ice cream surrounded by mochi—fairly popular in the US and easily found in the grocery freezer!). But today, I’d love to chat about daifuku.
Daifuku is mochi stuffed with a sweet filling, such as red bean paste, black sesame, even fruits. Mochi ice cream is technically daifuku as well! I’ve been cooking for decades, but since I’ve returned from Japan, I’ve been reinvigorated with the passion to better my Japanese cooking with the things I’ve learned from my travels. Today, I’ll show you how to make ichigo daifuku, or strawberry mochi!

いちご大福 , ichigo daifuku, is a popular spring treat in Japan, and it’s actually fairly new and modern, having been introduced some time in the 80’s. It is typically made with red bean paste, as well as a fresh and juicy strawberry right in the middle of the light and chewy mochi.

I made the bean paste from scratch because I added a secret ingredient: CBD infused butter! My cannabutter uses Kush Queen CBD flower, and I’ll show you how to make your own batch at home HERE! Over the past year or so, I’ve been wondering how I can enjoy the benefits of edibles beyond brownies and chocolate, and with the increase in television shows such as Bong Appétit and Cooking on High, I’m feeling inspired to continue my own canna-cooking journey. While cannabutter rich with THC can be nice, sometimes you just want a tasty treat without the body high, while keeping all the wonderful benefits of CBD. Note: If you decide to use CBD oil instead of CBD cannabutter, use 2-3 droppers of your Kush Queen bäre Full Spectrum extract.

Like most dried beans, red beans (azuki beans) take quite awhile to cook, especially if you don’t soak them the day before, so make sure you start with those before moving on to any other part of this recipe. When the beans are soft, drain them and pop them in a blender or food processor with a little bit of the cooking liquid. If you’re not into bean skins and prefer a smoother texture, you can take a spoon and press the beans through a sieve. Then throw the beans back into the pot with your butters and sugar, and cook down.* The color will darken as the beans cook and the liquid evaporates. Let it cool. You’ll also end up with extra bean paste, but you can keep it in the refrigerator for a week, or in the freezer for around a month. *Don’t cook on high! The beans will burn but, more importantly, your cannabutter or CBD oil could lose potency being exposed to heat higher than 320 degrees, where it may begin to evaporate.
Although traditional mochi actually requires a lot of patience and effort, here’s some amazing news: You can make pretty dope mochi in your microwave! What. You need to keep an eye on it, as I’ve definitely cooked it too long before, but my last few batches have been surprisingly impressive, and it only takes a few minutes. Mix glutinous or sweet rice flour in a bowl with water and sugar. Add plastic wrap, leaving a sliver open for steam to release. I pop my bowl in the microwave for a minute at a time, stirring every minute. When the dough has come together, sticky but not attached to your spoon, it’s ready. Pour it out onto a cornstarched surface and let it cool. I usually wait a minute or two before I knead the dough so I don’t burn my hands off.

Roll the dough out with a rolling pin. Don’t roll it too flat or it will tear more easily when you wrap it around your fillings. Let it cool a bit longer, around 10-15 minutes.

As you can see, I don’t own a cookie cutter. I really should. It’s amazing how many doughs I have to cut circles in and yet I’m still out here using tiny bowls and mason jar lids.

Once your mochi skins are formed, you’re ready to wrap! I start with a small spoonful of bean paste and top it with the cut strawberry. If you’re more patient than I am and your bean paste is cooler, you could even form it around the berry. I was too hungry.

It looked prettier the other way, but here’s the reality of my strawberry placement. This way, the mochi tucks at the base of the berry.

Simple, fun, delicious, and with some added benefits that satiate my appetite and my anxiety. I hope you give it a try, and maybe you’ll find some fun new ways to fill your daifuku!

Don’t forget to follow and tag @kushqueenshop and @kushqueenco in your Instagram posts and Stories!
Wanna Grab some Kush Hemp Pre Rolls? Find an Authorized Retailer near you!
Prefer using a CBD tincture for your recipes? Grab a bottle of Bäre Daily Wellness below!